How Can We Help?
Adding new Timeline to Campaign
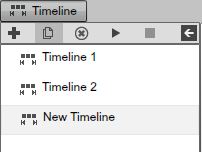
To add a new Timeline to a Campaign, click on the Add icon from the Timeline panel.
![]()
After you click on the Add button, you will gain access the Timeline wizard.
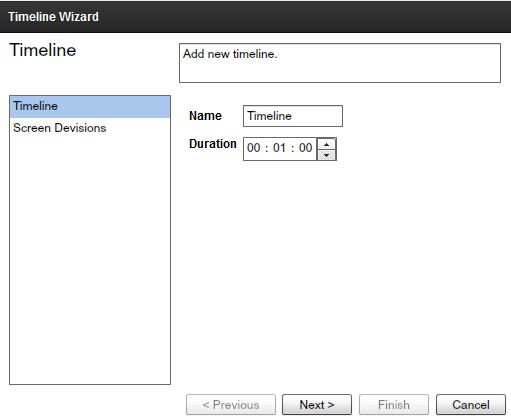
To add a new Timeline to a Campaign, you’ll have to go through several steps in the Timeline wizard. The Timeline wizard has two sections: “Timeline” and “Screen Divisions.”
Step 1: In the Timeline Section of the wizard, create a name for the new Timeline. Enter the new name in the “Name” field. Remember you can always change the name of a Timeline at any time if you choose to do so.
![]()
Step 2: Set the Duration of the Timeline. You can change the duration of a Timeline any time after you’ve create it.
![]()
Step 3: Click on the Next button and choose a Screen Division. You can select the same Screen Division you chose for the previous Timeline(s) or a different one.
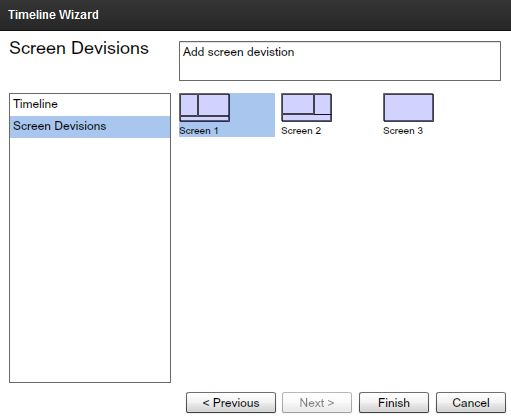
Click Finish to create the new Timeline.
After you’ve created a new Timeline, it will appear in the Timelines panel.